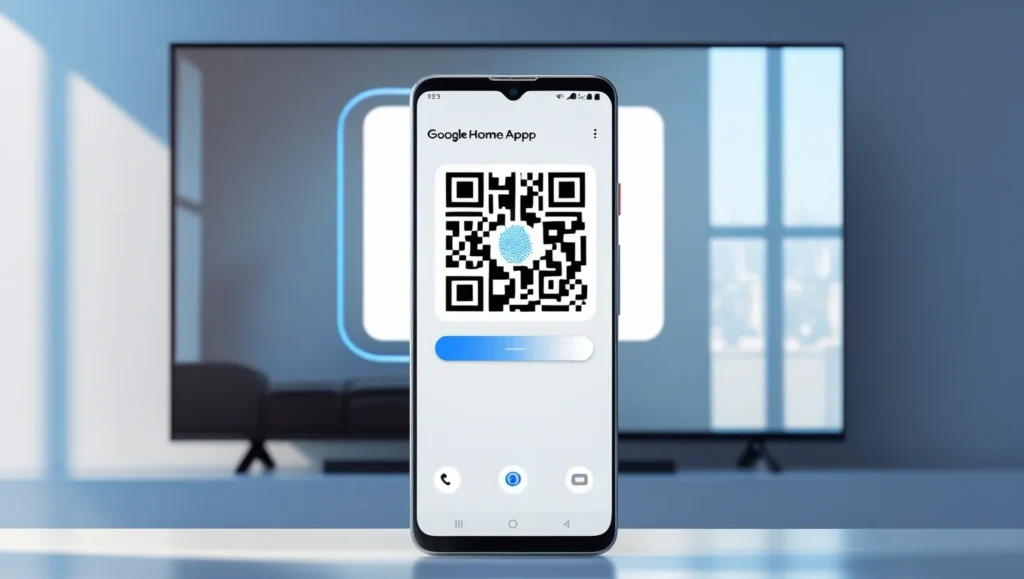
The Google TV Streamer is a powerful device that turns your TV into a smart entertainment hub. It supports 4K HDR, Dolby Vision, and over 800 free channels. It also integrates with your smart home devices. This guide provides a step-by-step process to set up and use your Google TV Streamer, based on the latest information as of June 2025. Follow these steps to start streaming your favorite shows in about 10 minutes.
What You Need
Before you begin, ensure you have the following:
- Google TV Streamer: The main device.
- HDMI 2.1 Cable: Not included in the box; purchase separately for best performance.
- Power Adapter and USB Cable: Included with the device.
- Voice Remote: Comes with AAA batteries.
- Smartphone: Install the Google Home app (available on Google Play or App Store).
- Google Account: A Gmail account is recommended for smooth setup.
- Wi-Fi or Ethernet: A 5 GHz Wi-Fi network or Ethernet cable for stable connectivity. Note: WPA2-Enterprise networks are not supported.
Tip: Use a high-quality HDMI 2.1 cable for optimal audio and video quality, especially if your TV supports Dolby Vision or Dolby Atmos.
Step-by-Step Setup Guide
Step 1: Unbox and Connect the Device
- Unbox your Google TV Streamer and check for the device, power adapter, USB cable, remote, and batteries.
- Plug one end of the HDMI 2.1 cable into the Google TV Streamer and the other into an available HDMI port on your TV.
- Connect the USB cable to the Google TV Streamer and the power adapter.
- Plug the power adapter into a nearby electrical outlet.
- Turn on your TV and select the HDMI input where the Google TV Streamer is connected.

Step 2: Pair the Remote
- Insert the AAA batteries into the Voice Remote.
- Press and hold the Home and Back buttons on the remote until the light starts pulsing.
- Follow the on-screen instructions to pair the remote with the Google TV Streamer.

Step 3: Select Language
- Use the remote’s directional pad (D-pad) to select your preferred language on the TV screen.
- Press the OK button to confirm.
Step 4: Set Up with Google Home App
- Open the Google Home app on your smartphone. Ensure it’s version 3.19 or higher.
- Tap Devices > Add device > Google Nest or partner device.
- Scan the QR code displayed on your TV screen.
- Follow the app prompts to:
- Connect to a Wi-Fi network (have your password ready) or use the built-in Ethernet port.
- Sign into your Google account.
- Configure additional settings.

Step 5: Configure Settings
- Choose whether to enable Google Assistant for voice control.
- Link your streaming services, such as Netflix, YouTube, or Disney+.
- Set up the ambient screensaver, choosing between Google Photos or an art gallery.
Tip: Linking your Google Photos can display a personalized slideshow on your TV when idle.
Step 6: Pair Remote with TV/Soundbar
- In the Google Home app, select Set up remote.
- Choose your device type (TV or soundbar) and select the brand.
- Follow on-screen instructions to test volume and power controls.
Step 7: Customize Home Screen
- Use the remote to navigate to the home screen.
- Press and hold the OK button on an app to move or remove it from favorites.
- Arrange content rows to prioritize your preferred apps and shows.

Using Google TV Streamer
Once set up, you can enjoy a range of features:
- Navigate the Interface: Use the remote’s D-pad to browse apps and content. Google AI curates recommendations based on your preferences.
- Voice Commands: Press the Assistant button on the remote to search for shows or control smart home devices.
- Smart Home Integration: Access the Google Home panel by pressing the Home button to control compatible devices like lights or thermostats. Learn more about Google Home compatible devices.
- Casting Content: Cast videos or music from your smartphone using apps like YouTube or Spotify.
For additional streaming options, check out our guide on How to Watch Dailymotion on Roku TV.
Troubleshooting Common Issues
Here are solutions to common problems:
- Remote Not Pairing:
- Ensure batteries are inserted correctly.
- Restart the Google TV Streamer by unplugging it for 30 seconds.
- Try pairing again by holding the Home and Back buttons.
- Wi-Fi Connection Issues:
- Verify your Wi-Fi password.
- Ensure your network supports 5 GHz (WPA2-Enterprise is not supported).
- Consider using the Ethernet port for a stable connection.
- App Installation Problems:
- Check your internet connection.
- Update the Google TV Streamer firmware via Settings > System > About > System Update.
- Factory Reset:
- If issues persist, reset the device. Learn how in our guide on How to Factory Reset Westinghouse TV.
For more troubleshooting, visit the Google TV Streamer Support Page.
Recent Updates (June 2025)
As of June 2025, recent firmware updates (e.g., build UTTK.250305.003, April 2025 security patch) have fixed bugs related to HDMI-CEC and Dolby Vision/HDR10+. The setup process remains unchanged, but check for updates after setup to ensure optimal performance. A new Home Panel feature allows control of smart home devices on older Google TV devices, enhancing the Google TV Streamer’s capabilities.
Conclusion
Setting up your Google TV Streamer is quick and easy, taking less than 10 minutes. Follow these steps to connect the device, pair the remote, and start streaming. Explore features like voice control and smart home integration to enhance your experience. For further assistance, visit the Google TV Streamer Support Page or check out our related guides on How to Install and Watch IPTV on Roku.
Explore similar content:
- How to Update Kodi on Amazon Firestick
- How to Block YouTube on Your Roku Device
- Firestick Remote Won’t Pair? Here’s How to Fix It
- Best Streaming Services for Local Channels in 2025

